Video Editing
Camtasia editor allows you to refine your video by removing unwanted parts and adding additional media such as texts, audios, visuals, and effects.
To import media, click + in the media bin or click the import media… button. You can then drag the imported media to the timeline to start editing.
To remove unwanted parts, you can make a cut by using slice, trim, or ripple techniques.
- To trim the beginning or the end of a clip, drag either end of the clip towards the middle of the clip.
- To split a clip in half, move the playhead to where you want to make the cut, then press the
splitbutton. - To remove a portion of the clip and close the empty gap, drag the green and red blocks next to the playhead to choose a selection, then right click on the portion of the clip to be removed and choose
ripple delete. Alternatively, click theenable magnetic tracksbutton with the magnet icon to automatically close all the gaps as you edit.
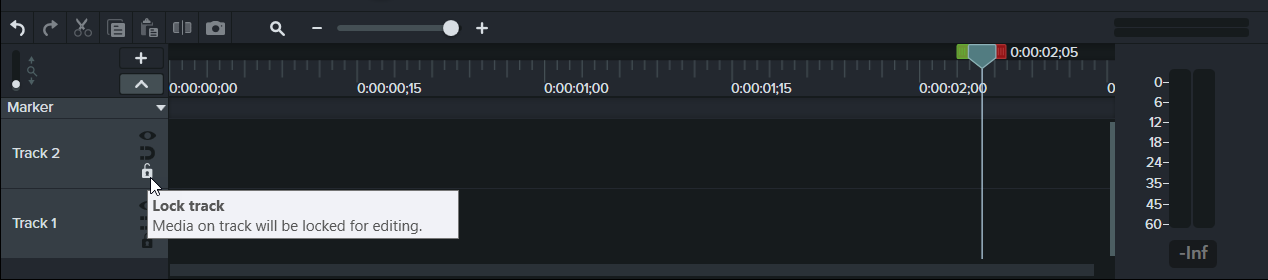
Click the eyeball icon to disable a track, and click it again to re-enable it. Clicking the eyeball icon while holding Alt on your keyboard would solo the selected the track and disable the other tracks.
To preview a video, move the playhead to where you want to preview, then click the play button or press enter on your keyboard.
Click this link to learn more about the timeline.
In addition to importing media from the media bin, you can also drag other types of media from the tools panel onto the timeline. Here are some common effects from the tools panel that you can add or apply to your video clip:
- Annotations: A combination of text and graphic overlays. You can add texts, shapes, blurs and highlights, etc. If adding a highlight, make sure to adjust the position of the clip on your timeline to match the action that you want to highlight.
- Transitions: To connect different clips for a more polished look. To apply a transition to a clip, drag the desirable transition to the timeline, and the clips that be applied a transition will highlight in yellow at the beginning and the end of each clip. Release your mouse to one end of a clip to apply the transition to that end or to the middle of the clip to apply the transition to the entire clip.
- Noise reduction: To reduce the noise of a clip if the recording picked up any noise sources such as room tone or computer fan. To apply noise removal, navigate to
Audio Effectsin the tools panel, then dragNoise Removalto the track that you want to apply noise removal to. You can also choose to adjust theGain,Sensitivity, andAmountunderProperties. - To draw viewer’s attention, use the scale up the cursor function under
Properties,Sketch Motion CalloutsinAnnotations,BlurinAnnotationsand theInvertfunction underProperties, orSpotlight.
You can add additional media to separate tracks and reorder the tracks. The media in tracks on top of other tracks will appear on top of the other.
Click this link to learn more about timeline editing.