Create Instructional Videos
If you simply need to record yourself talking to the screen or your computer screen, Zoom and Microsoft Teams are more than enough to handle that as you can start and record a one-person meeting. However, Zoom and Teams lack the functionalities to make additional edits, and that’s where Camtasia shines, especially if you want to elevate your instructional videos to the next level.
Edit Zoom/Teams lecture recordings
If you have some lecture recordings that you are hoping to polish, Camtasia is a great tool for that. First, you can remove any sections of a recording that you don’t want, such as a roll call. Then, additionally, you can add media and apply effects such as:
- Add annotations (such as texts) and images to supplment the existing content or correct any mistakes made in the recording
- Improve the audio by applying a noise reduction if the recording picked up any noise sources or boosting the overall volume if the audio level in the recording is low. To adjust the volume, right-click the recording in the timeline and choose
Edit audioand drag the audio clip upward. - Apply transitions to the beginning and the end of the recording. A simple and not over-the-top
fadetransition is typically sufficient.
Record a PowerPoint slide show with narration
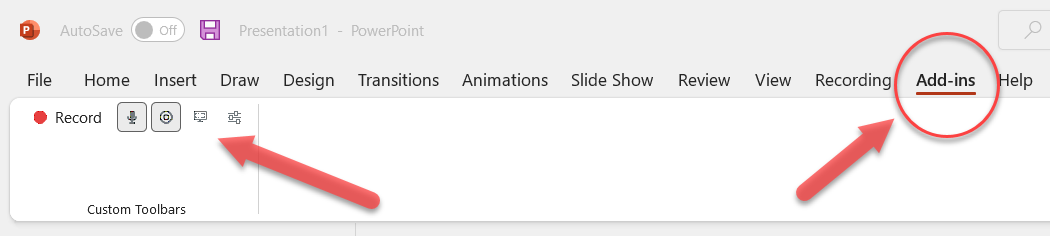
PowerPoint has a camtasia add-in that allows you to record your presentation with narration in a video format. This add-in is only available for Windows operating system and is automatically added to PowerPoint after you installed Camtasia. Follow these instructions to record with the camtasia PowerPoint add-in.
After completing the recording, click Stop recording, save the file, and then choose either Produce your recording to export the recording to mp4 format or Edit your recording. If you choose the latter option, you can drag the recording from the media bin to the timeline in Camtasia for additional editing. The screen recording and the camera recording will appear on separate tracks. The blue clip markers indicate new slides on the screen recording track. You can rename the markers, especially if you are publishing the video to YouTube where the markers’ titles can be served as YouTube video chapter titles.
You can not only reposition and resize the camera recording but also create a custom matte for a circled talking head effect. Navigate to Annotations, choose a circle shape, drag it on top of the screen recording track, cover the speaker’s face, and extend the duration to match the screen recording track. Then navigate to Visual Effects, drag Media Matte to the shape track, select both shape and camera tracks, and right click and choose group.
Click this link to learn more about all the track matte modes.
Create Screencast Tutorial Videos
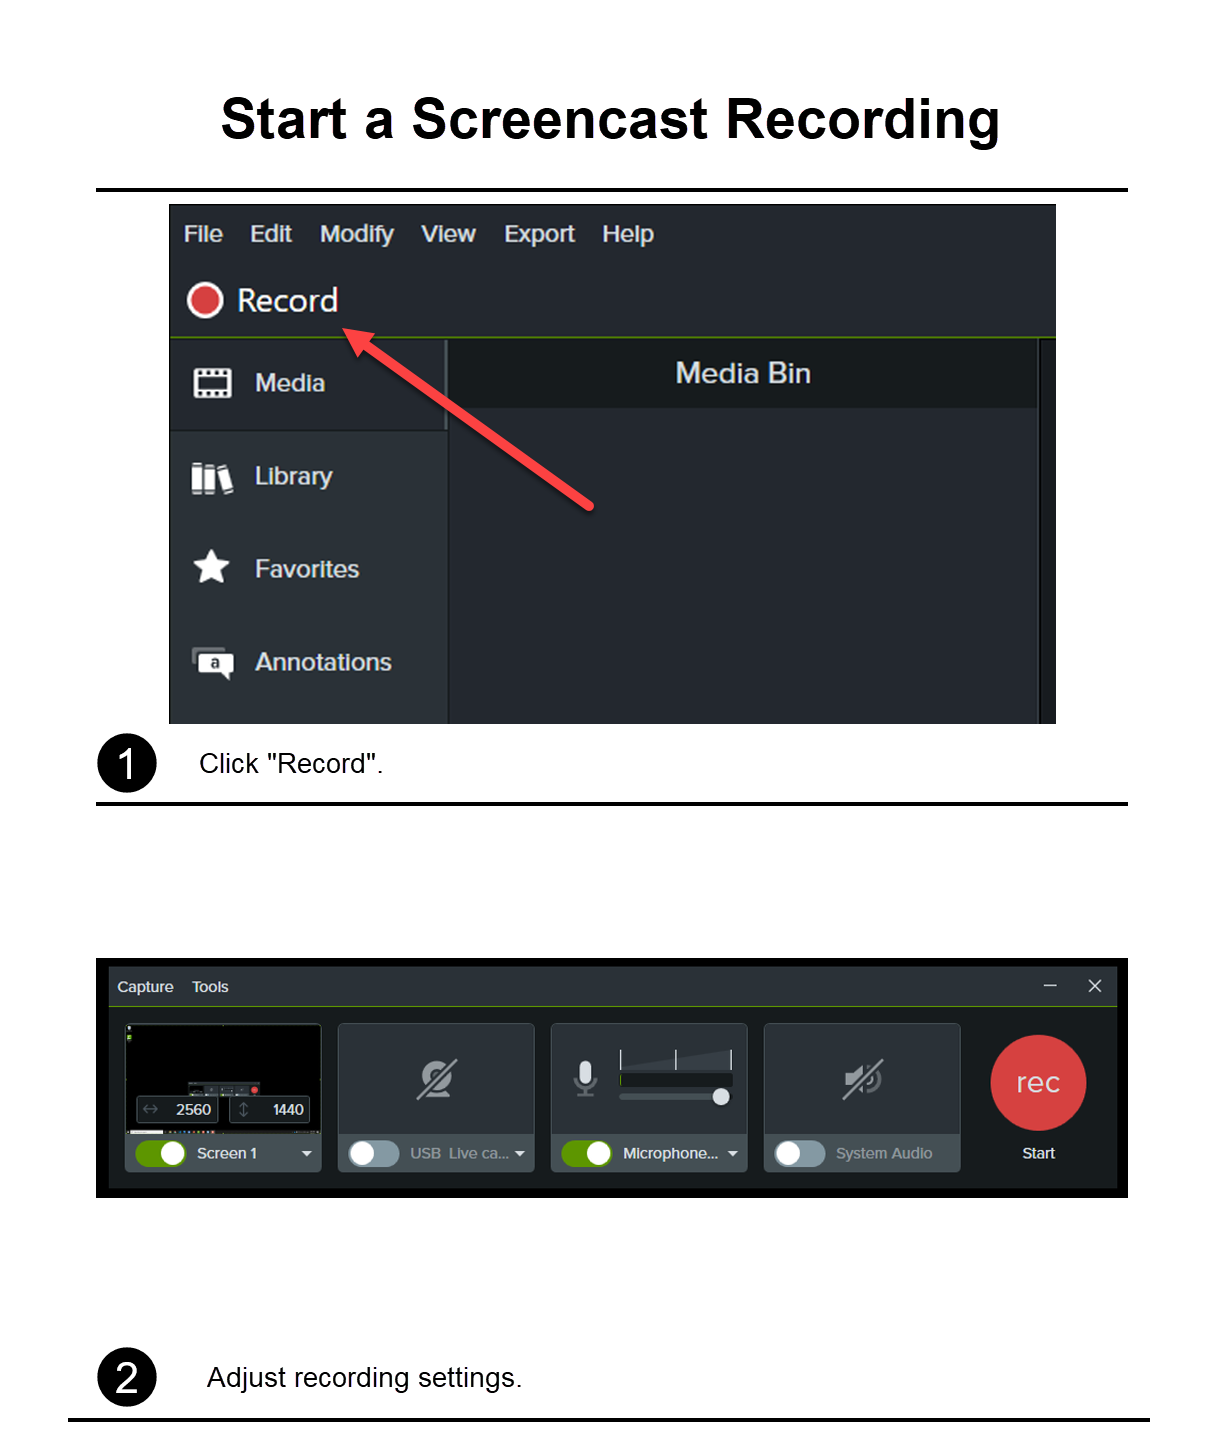
To start a new recording, click the red Record button on the top left. You can customize your recording by choosing your recording region and toggling on/off your webcam, microphone, and system audio. Click the red rec start button to record. Once you complete the recording, click Stop, then the recording will appear in the media bin, canvas, and timeline.
The audio and video are on one track by default. To move the audio to a separate track, right click the clip on the timeline, and choose Separate Audio and Video.
To preview the recording in canvas, click the play button or press the spacebar.
To jump to a different part in the video, click on a timestamp on the timeline or click and drag the playhead to scrub through the video.
To cut a portion of the video, drag the handles on the playhead to choose a selection, then click Cut with the scissor icon. Alternatively, you can click and drag the end of a clip to trim an unwanted section.
Use the plus and minus buttons to zoom in and out on the timeline. The magnifying glass icon allows you to fit the entire project on the timeline.
Additional media can be added to the project. Effects such as audio and visual effects and transitions are added to the same track. Annotations and other media are added to separate tracks.
Create Interactive Videos
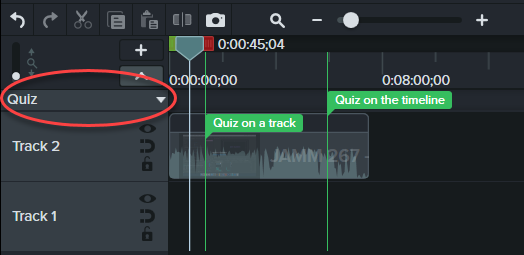
You can add quizzes and hotspots to a Camtasia video. To add a quiz to the timeline, navigate to Interactivity in the tools panel. If the quiz option is selected on top of the tracks in the timeline, you can mouse over to a specific frame on the track to add a quiz. If the quiz is on the track, the quiz’s position on the track will stay the same when you move the track to a different position on the timeline. If the quiz is above the timeline (above the tracks and below the timestamps), the quiz will display when the video plays and reaches that specific timeframe.
In Properties, you can customize the quiz by choosing the quiz type and adding question, answers, and feedback.
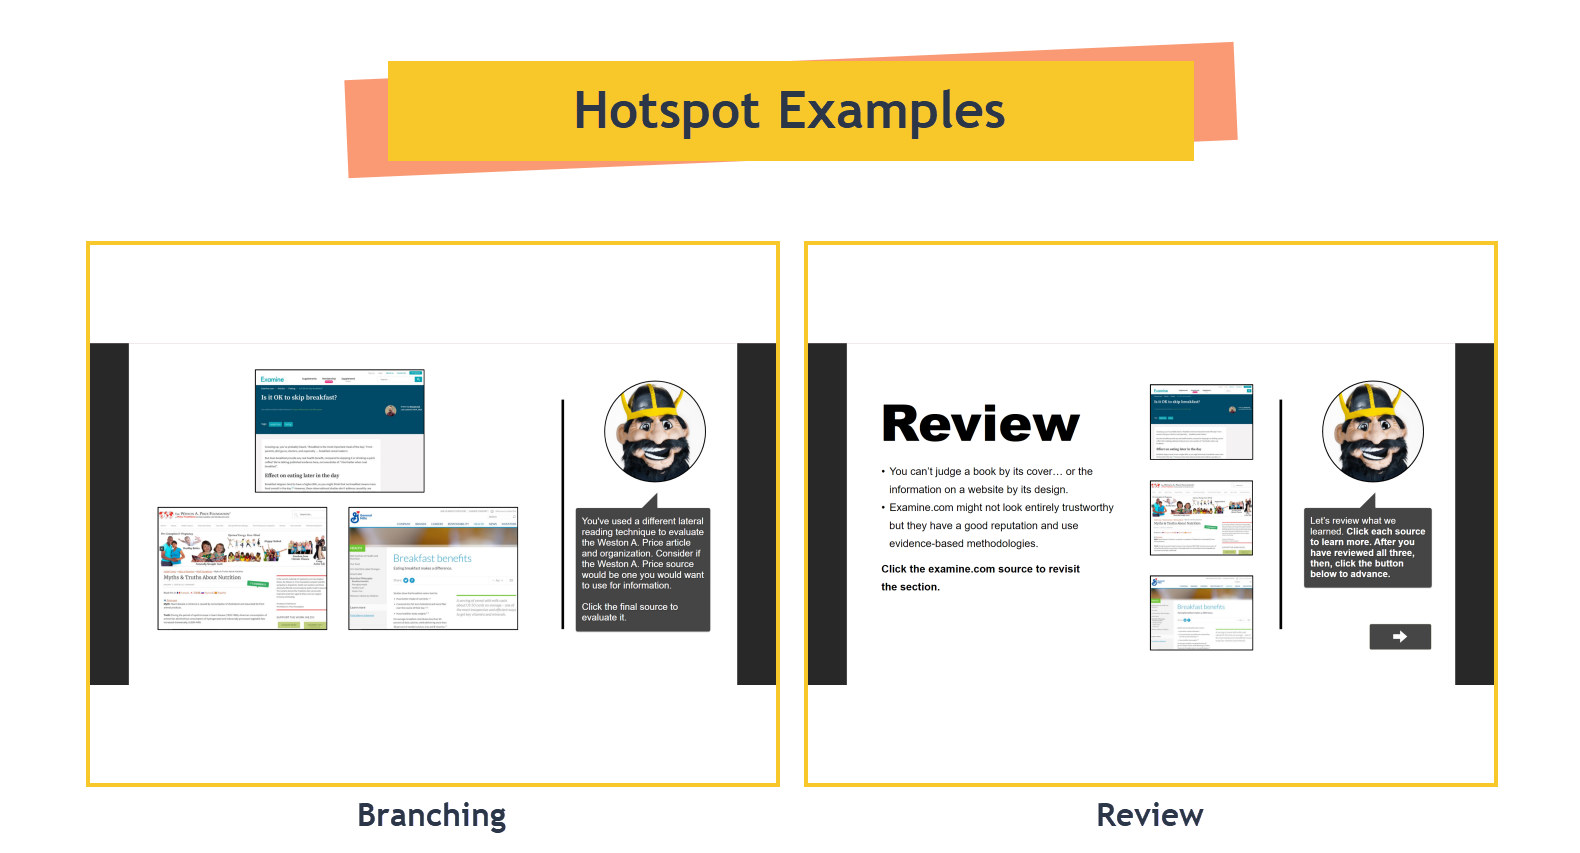
In addition to quizzes, you can add clickable interactive hotspots (under Visual Effects) to a video that allows viewers to click the hotspot to get to a specific point in the video or a webpage. This could be useful if you want them to click a specific part of the video, such as a concept or a function that you just explained, to continue. Hotspots can also be used as branching scenarios or a concluding screen which allows viewers to revisit certain sections of the video that they watched.